|
|
The chibis are all modelled on a Rurouni Kenshin plushy keyring figure, which Sun Kitten acquired at a convention. Feel free to copy and modify the designs. Vampire Hunter D was made first, then Saryth, then Protus, and finally Kite. So far Saryth and Kite are probably the best.
|
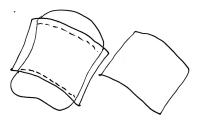
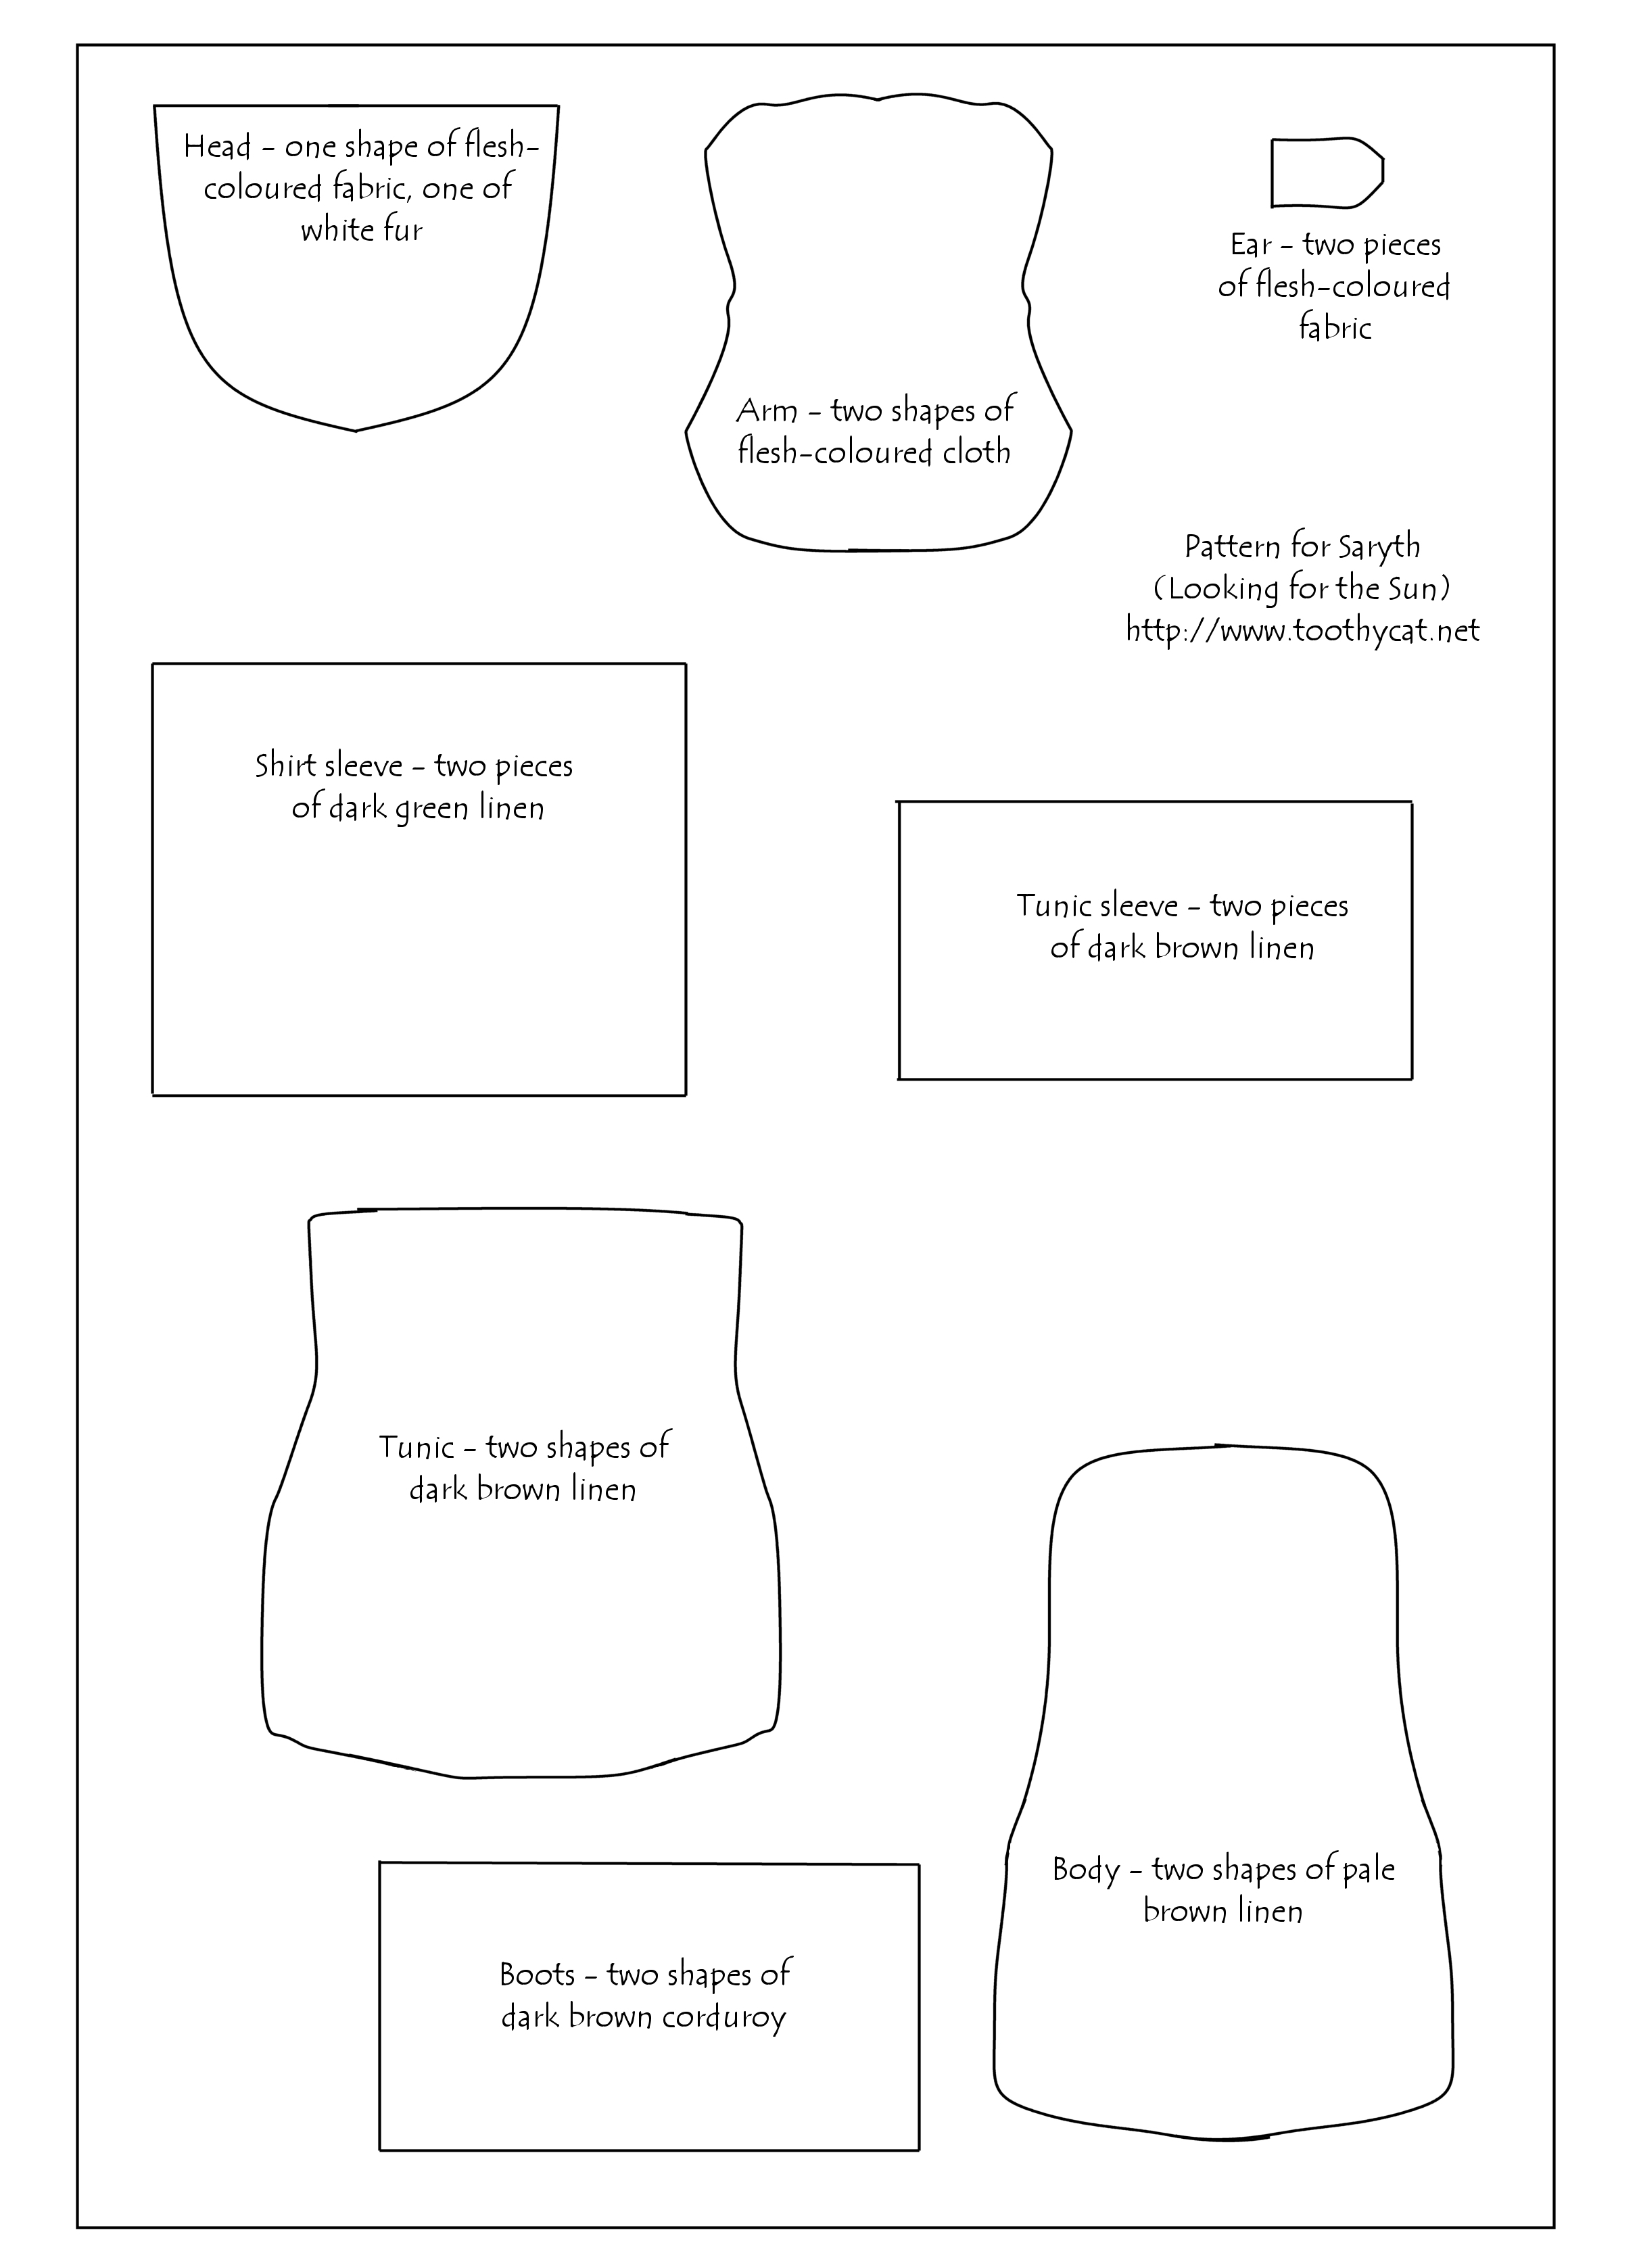
Download and print the pattern first - it's A4 size, whatever your print program tells you. I used pale brown linen for the body, dark brown linen for the tunic and tunic sleeves, dark brown corduroy for the boots, dark green linen for the shirt sleeves, flesh-pink for the arms and one half of the head, white fur for the other half of the head and white feathers trimmed from a fake feather boa for the long hair. |
pattern |
|
Sew the green sleeves onto the arms. Where it's sewn to his hands, the green cloth should be doubled over so it doesn't fray. The top line doesn't need this because it's covered by the tunic sleeve. |
|
|
Sew the arm together, with the two sleeves on the inside. Make sure there's enough of each sleeve so that when you turn the arm inside out, the sleeves are not constricting the width, but leave enough poking out at the seam that the cloth is caught by the seam, since they need to be attached. Turning them inside out is horrendous since they're so small, but you should be able to do it.
Then stuff them. |
|
|
Sew the two sections of 'boot' cloth onto the halves of the body, separately. It needs to be doubled over. Only the horizontal line of stitches is required. |
|
|
Sew the body together, inside out. Make sure there's enough tunic so that it doesn't constrict the body shape when turned inside out. When you come to the arms, they should be inserted inside the body so that when the body is inside out, they're in the right place. Each side of the stuffed arm needs sewing on separately; you don't need to worry about sewing further up the shoulders at this stage. |
|
|
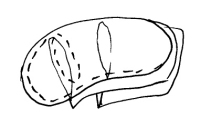
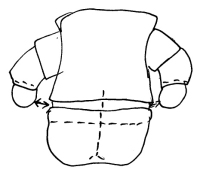
Turn the body inside out (also not easy), and sew up the leg division, separating the feet with a little triangle of stitches. Stuff the body, making sure that the legs are full, and then stitch the top up - the stitches will show, but not much of them - and sew the hands to the sides, below the tunic. |
|
|
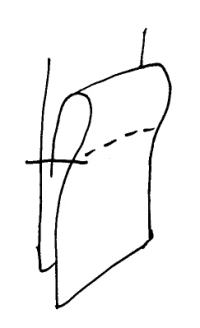
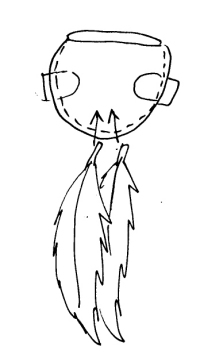
Sew the halves of head together, inside out, leaving a space at the top. Don't forget the ears. Turn it the right way out (the diagram is a little misleading here), and attach the feathers for his ponytail. |
|
|
Stitch the head to the body. Use two lines, one at the front and the other at the back. Stuff the head and sew up the top, attaching a little loop of cloth for the keyring if you want it. Then sew on a strip of white fur above his face for his fringe, and underneath this use two trimmed white feathers for the hair hanging either side of his face. These are best attached to the side of his face near his ears as well, since that will help shape and protect them. |
|
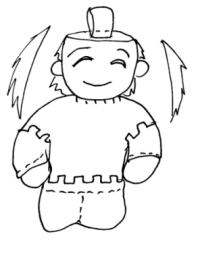
| To finish, draw his face on with permanent pen (dedicated sewing maniacs can embroider it with black thread at an earlier stage) and cut the tunic sleeves and bottom into the appropriate shapes. Tie a piece of blue wool round the top of his ponytail. And that's it - one chibi Saryth ^.^ | 
|
The following instructions are very similar to Saryth's, so only the differences are described in detail.
|
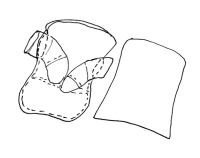
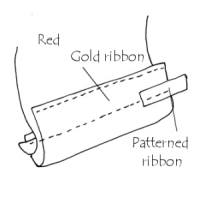
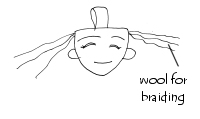
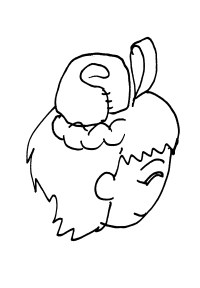
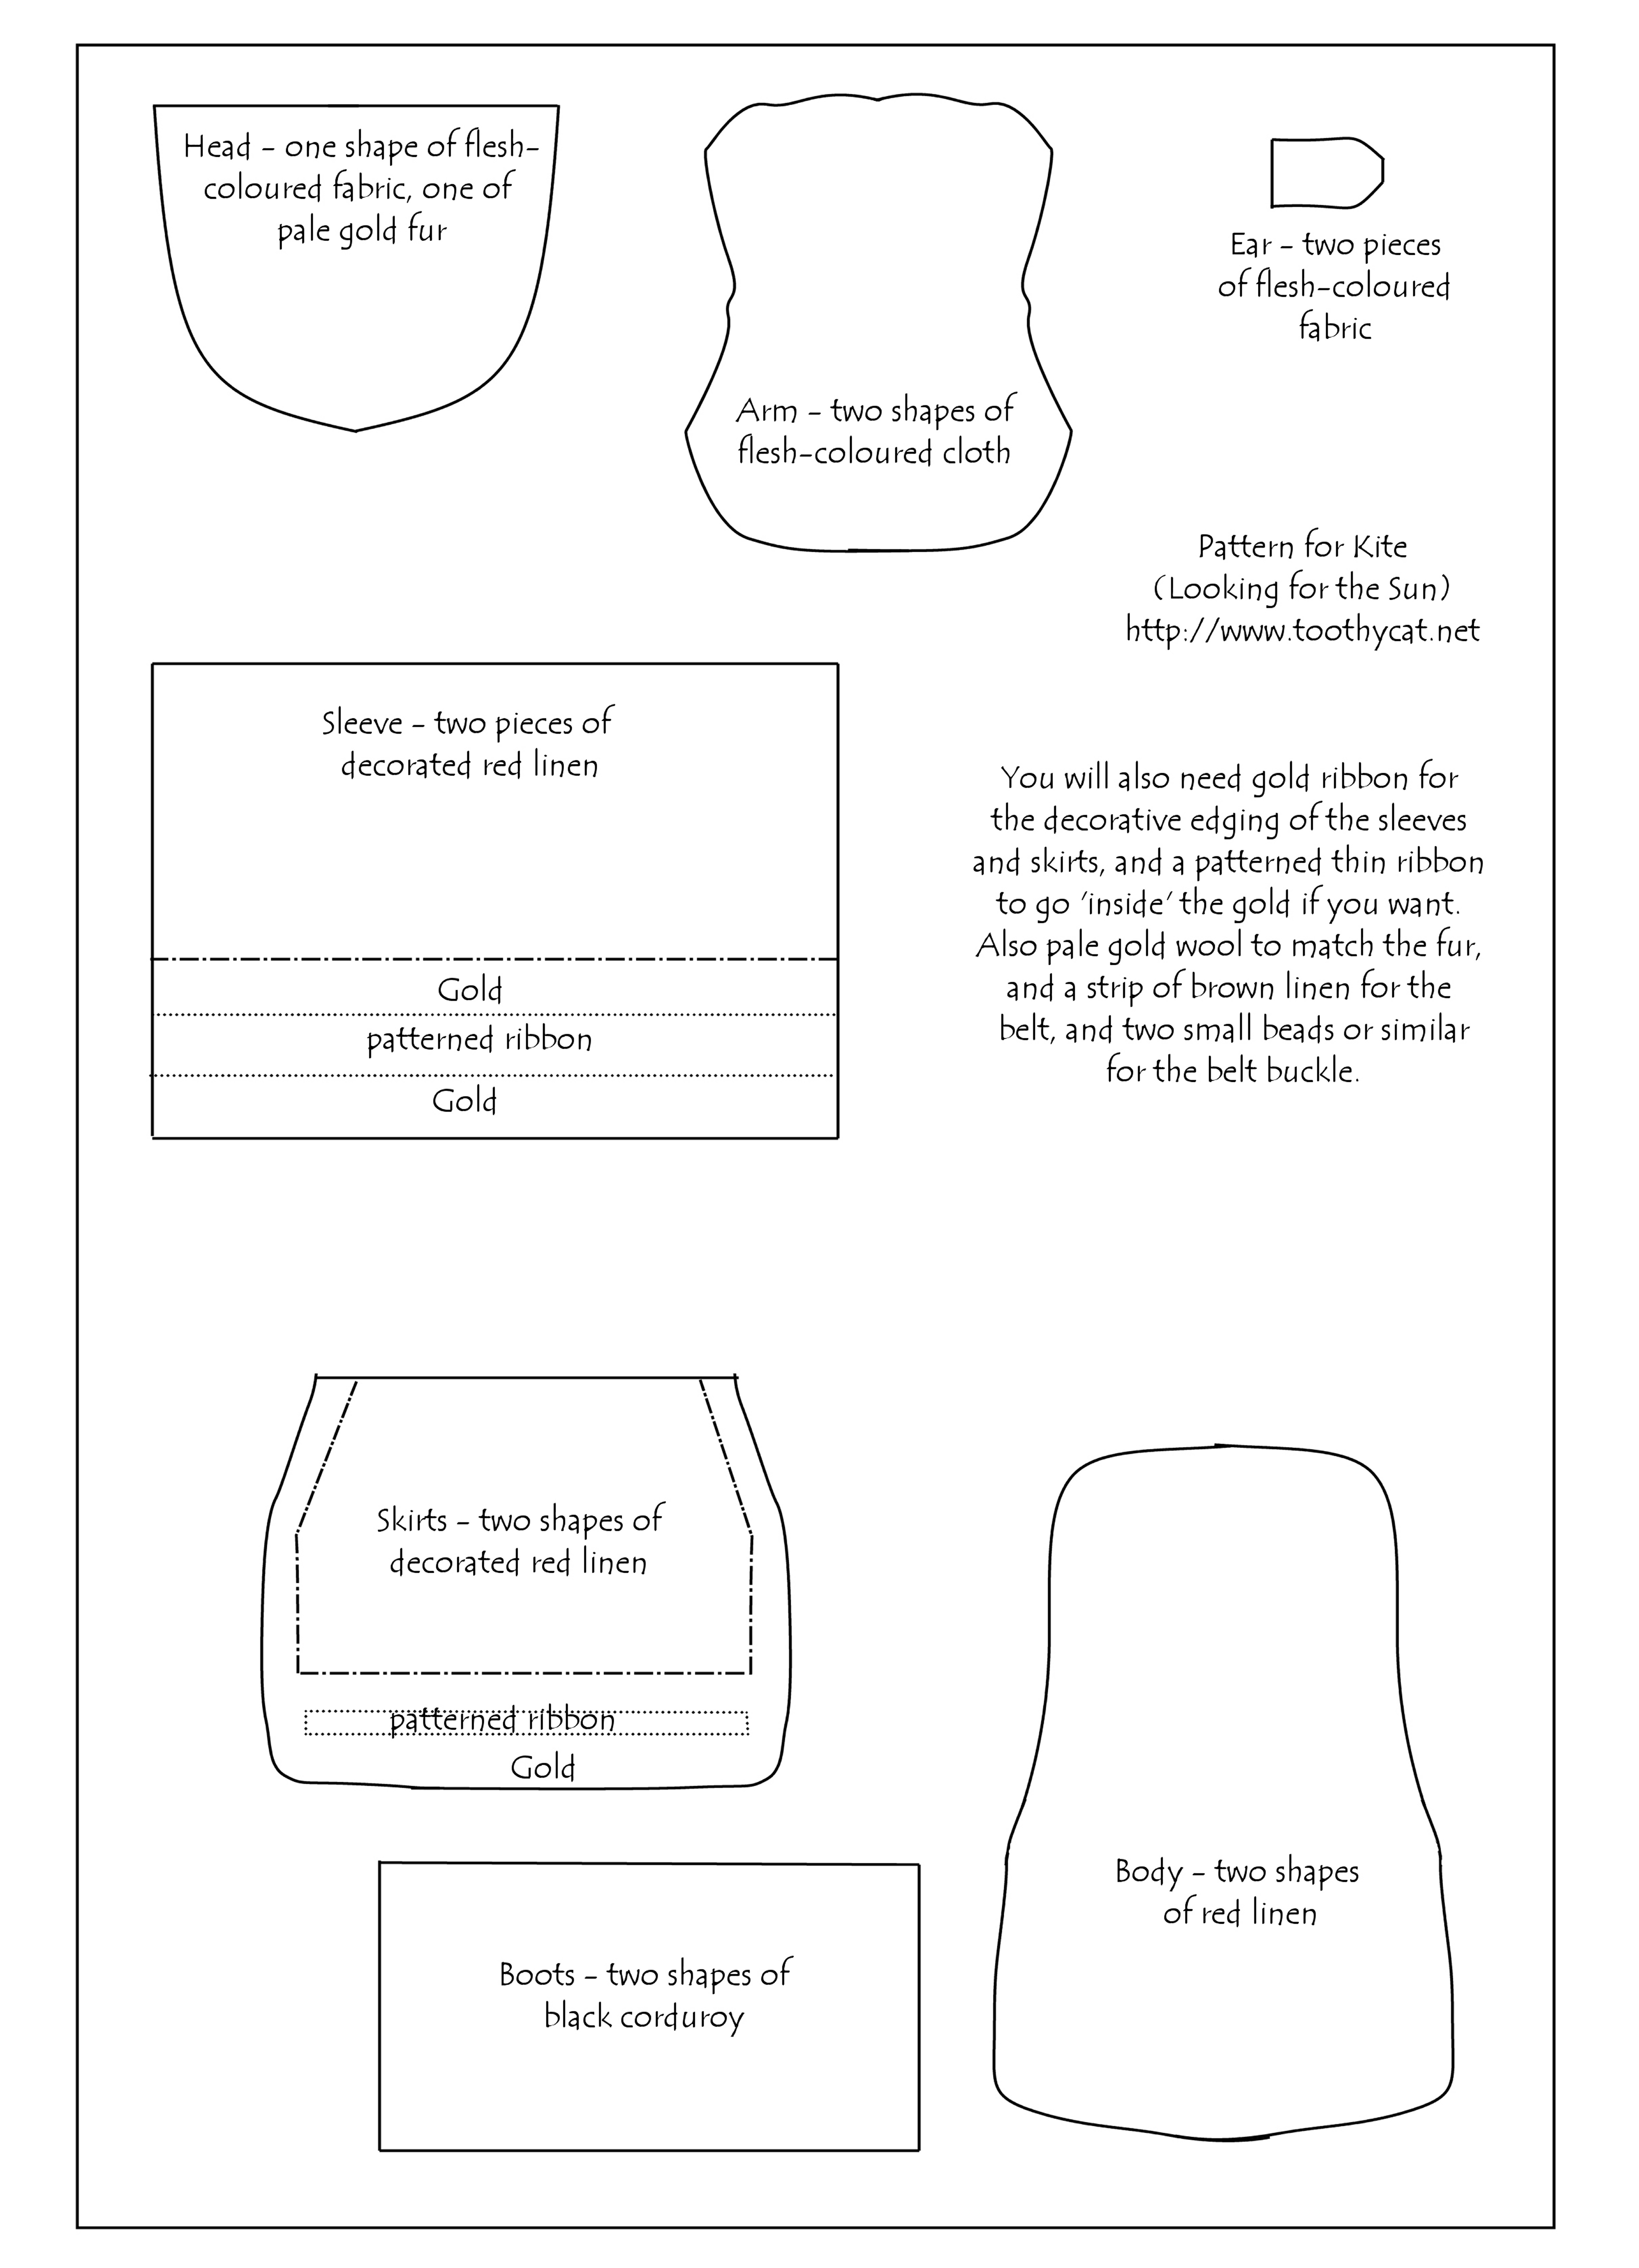
Download and print the pattern first - it's A4 size, whatever your print program tells you. I used red fabric for the skirt, sleeves and body, flesh pink felt for the face, ears and arms, black corduroy for the boots, pale gold fur for the hair (with matching wool for the braids), gold ribbon and fancy ribbon for the decorations and a strip of thin brown fabric for the belt, with a couple of glittery bits for the belt clasp. |
pattern |
|
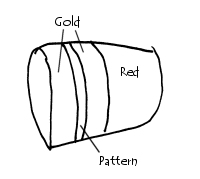
First, the decorations. It's not too important what these are; I used a fancy black ribbon (see the images of the finished version). Whatever you do, it needs to be done to the sleeves and the skirt before you do anything else with them. Obviously they should match. The 'skirt' is in two halves and each half is edged on the sides as well as the bottom, although the sides have only the gold edging and not the fancy bit in the middle. If that's not clear, look at a picture of Kite. |
|
|
The sleeves are sewn separately from the arms. Sew the edges together inside out, then invert them (this applies to both sleeves and arms). Put the arms inside the sleeves before attaching them to the body. |
|
|
Sew the boots like Saryth's, then sew round the body (inside out). Attach the arms by sewing round them. They should be inside the body while it's inside out, so that when it's turned the right way out the arms are on correctly. |
|
|
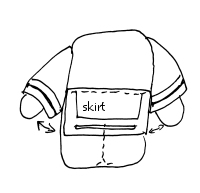
Sew the leg divisions as for Saryth, then stuff the body. Sew the skirts on individually and finally sew the belt on over the skirt top seam. Attach beads or something shiny for the belt buckle if you want. Then sew the hands to the sides of the body, and sew up the top of the body. |
|
|
Make the head with flesh felt and gold fur, making sure the fur will lie the right way. Don't forget the ears. Turn the head inside out and string 6 or more bits of wool through the sides of the head for the braids. Attach the head to the body with at least two lengths of thread. Stuff and sew up the head, attaching a loop for the keyring if wanted. Sew a strip of fur at the top of her face for her fringe, then draw her face on (if it hasn't been embroidered on ;). |
|
|
Braid the wool to the appropriate length and sew the end of the braid to her head where the buns will go, so it's hidden by the bun. It should be visible to the side but disappear at the back. Make the buns by curling a bit of fur round itself and sewing it to the top of her head, over the end of the braid. Any extra bits of wool can now be cut off, and you've finished :) |
|
toothycat.net is copyright Sergei and Morag Lewis